Drawer Liners for Hygiene: A Complete Guide for Comfort
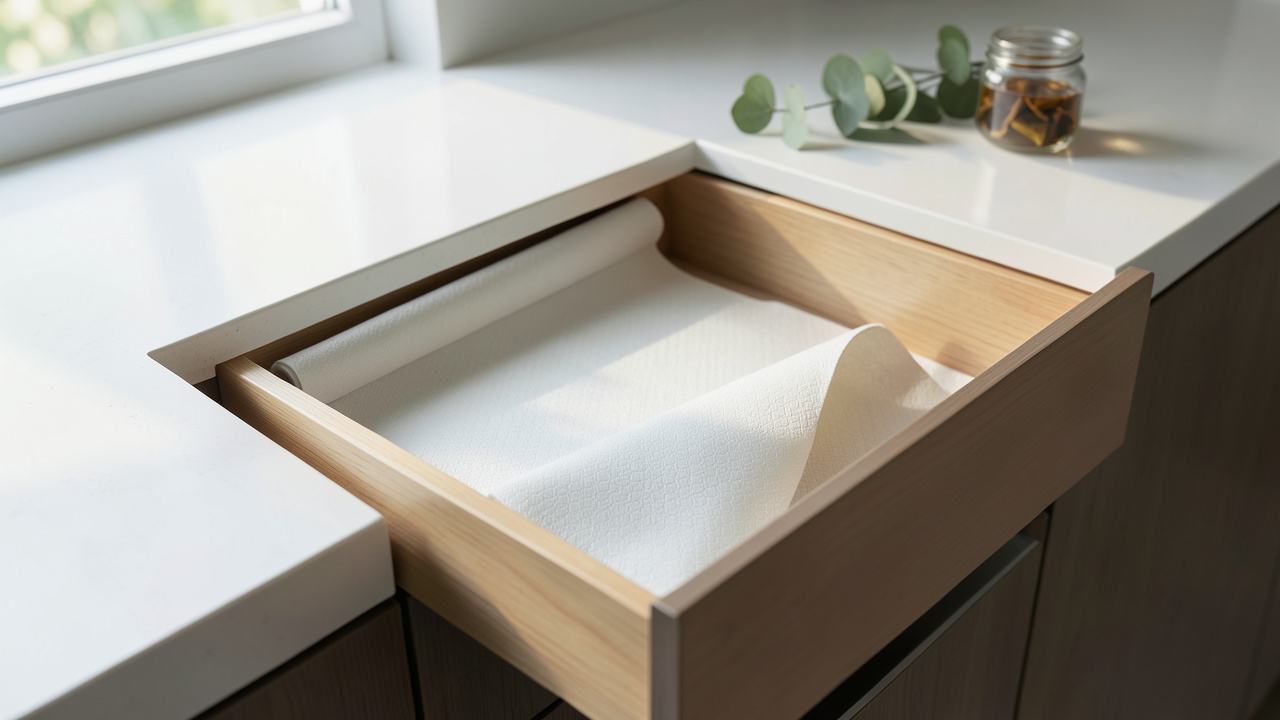
Drawer liners for hygiene act as a protective barrier that prevents dust, moisture, and bacteria from contaminating stored items. Choosing antimicrobial or washable materials like silicone or vinyl ensures easy cleaning and long-lasting protection against mold and germs. Proper installation and regular maintenance—washing cloth liners monthly or replacing paper liners every six to eight weeks—are essential for maintaining a clean and comfortable drawer environment.
Drawer liners do more than protect your drawers. They help keep your clothes, utensils, and everyday items clean and free from germs. This guide explains how to choose and use drawer liners for better hygiene and comfort.
Tip: Choose drawer liners made from antimicrobial or washable materials to prevent mold and bacteria growth. Non-porous surfaces are easier to clean and last longer.
Quick Verdict: In short, drawer liners for hygiene help prevent dust, moisture, and bacteria from settling on your stored items. Choose materials like silicone or antimicrobial vinyl. Wash cloth liners monthly. Replace paper liners every 6-8 weeks. This guide covers types, cleaning, and best practices to keep your drawers clean and safe.
Drawer liners create a barrier between your drawer surface and your belongings. They catch spills, reduce dust, and make cleaning easier. According to the, kitchen surfaces including drawer interiors can harbor bacteria like E. coli and Salmonella. Using the right liner reduces cross-contamination risks.
Key Takeaways
- Drawer liners block moisture and dust, reducing the risk of mold and bacterial growth inside your drawers.
- Silicone and antimicrobial vinyl liners are the most hygienic choices because they resist water and can be washed with soap.
- You should clean cloth liners every 2-4 weeks and replace paper liners every 2 months to maintain a sanitary surface.
- Using drawer liners in bathroom and kitchen drawers significantly cuts down on germ transfer from countertops to your items.
- Proper installation with adhesive-free liners prevents sticky residue and makes removal simple when you need to clean the drawer.
Types of Drawer Liners for Hygiene: A Quick Comparison
| Material | Hygiene Rating | Cleanability | Durability | Best Use |
|---|---|---|---|---|
| Silicone | Excellent | Wipe or wash easily | Very high | Kitchen, bathroom, utility drawers |
| Antimicrobial vinyl | Very good | Wipe with disinfectant | High | Drawers with small items, office, craft |
| Fabric / felt | Good (if washable) | Machine wash or hand wash | Moderate | Clothing, jewelry, dresser drawers |
| Paper / contact paper | Fair | Replace when soiled | Low | Temporary use, low-moisture areas |
How Drawer Liners Affect Hygiene and Comfort
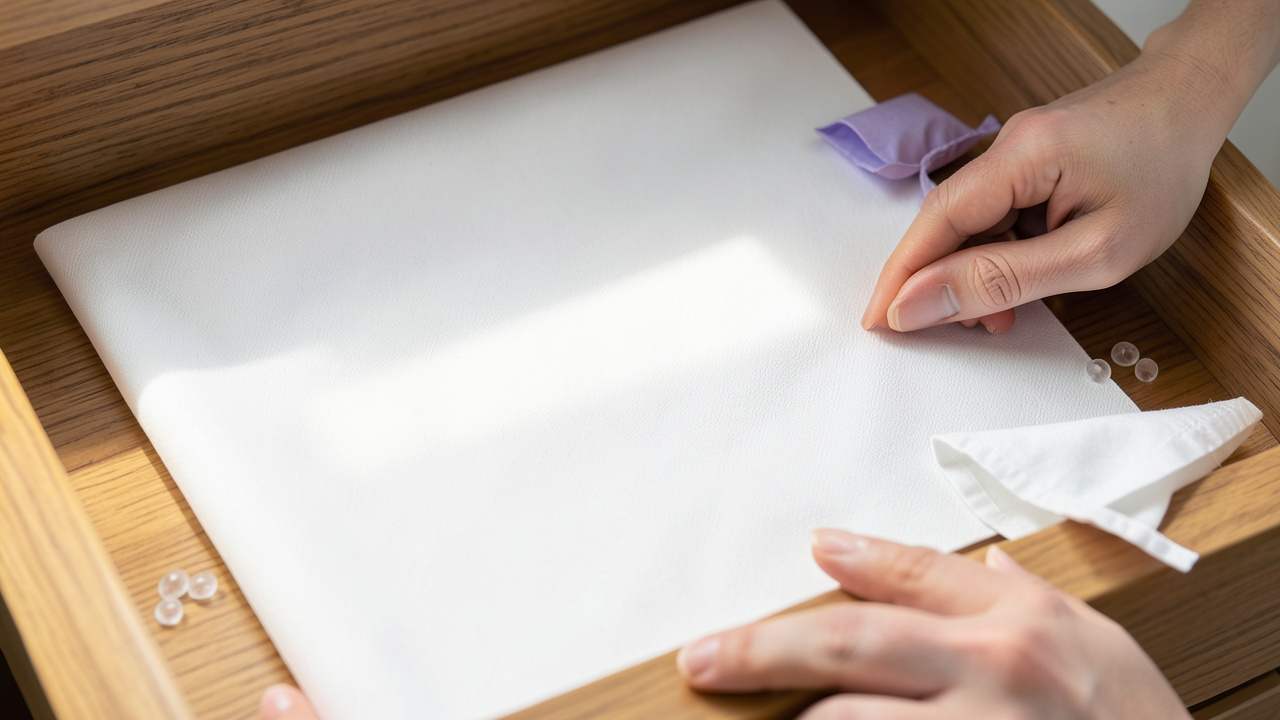
Drawer liners create a protective layer that stops moisture from reaching the wood or particleboard underneath. When moisture sits inside a drawer, it encourages mold and mildew. The states that mold exposure can cause respiratory issues. Using the right liner reduces this risk.
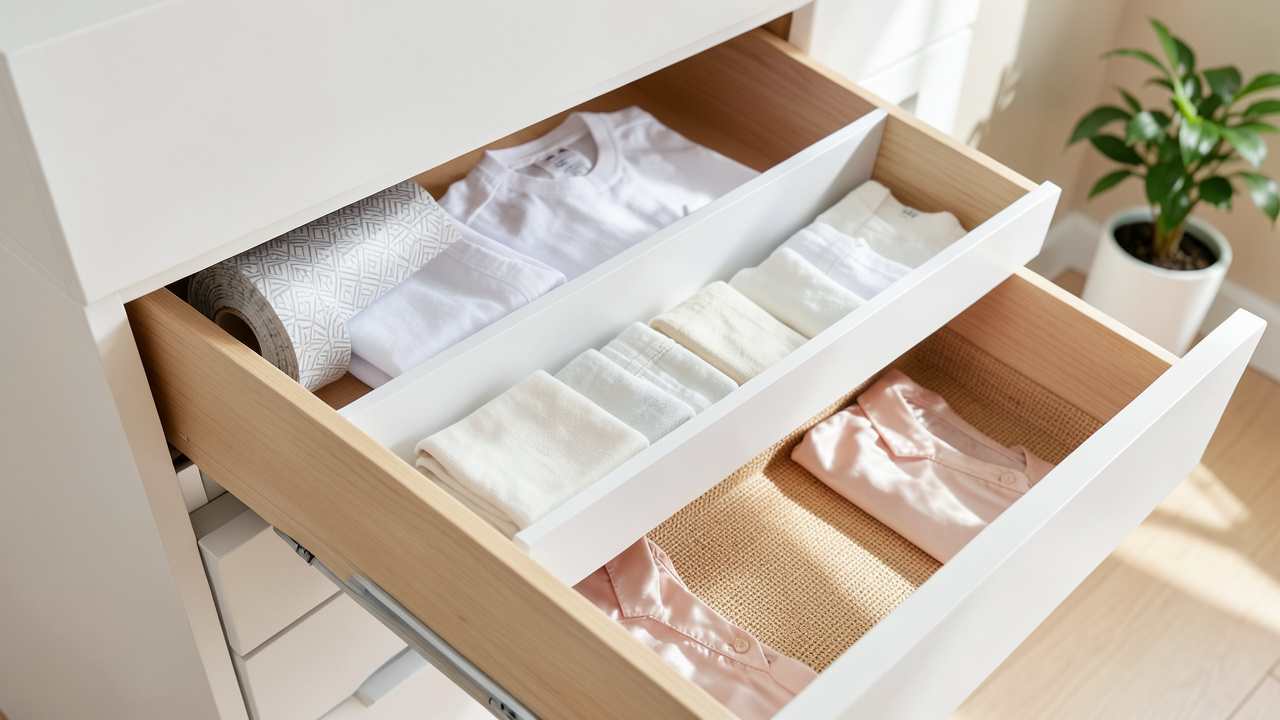
Comfort comes from soft-touch materials that dampen noise. Silicone and felt liners stop utensils from sliding and clattering. They also provide a non-slip surface. This keeps items in place and reduces stress when you open drawers quickly.
Important: Drawer liners with antimicrobial properties help inhibit the growth of bacteria and fungi. Look for products labeled “antimicrobial” or “mildew-resistant” for the best hygiene protection.
Step-by-Step Guide to Choosing and Installing Hygienic Drawer Liners
Before You Start
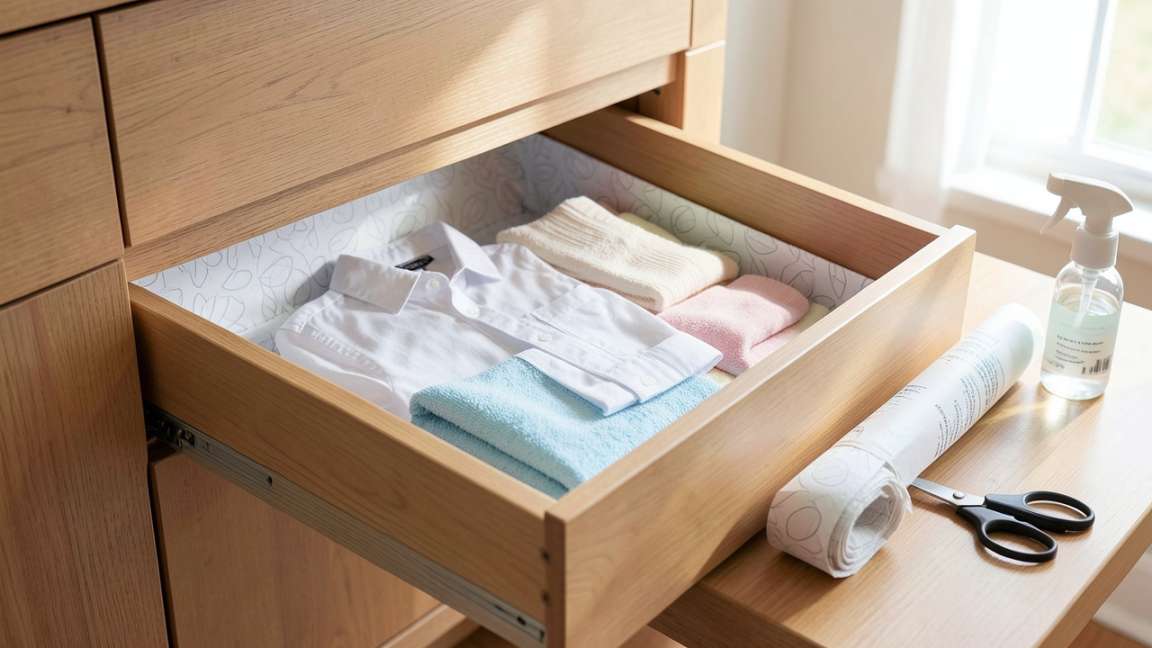
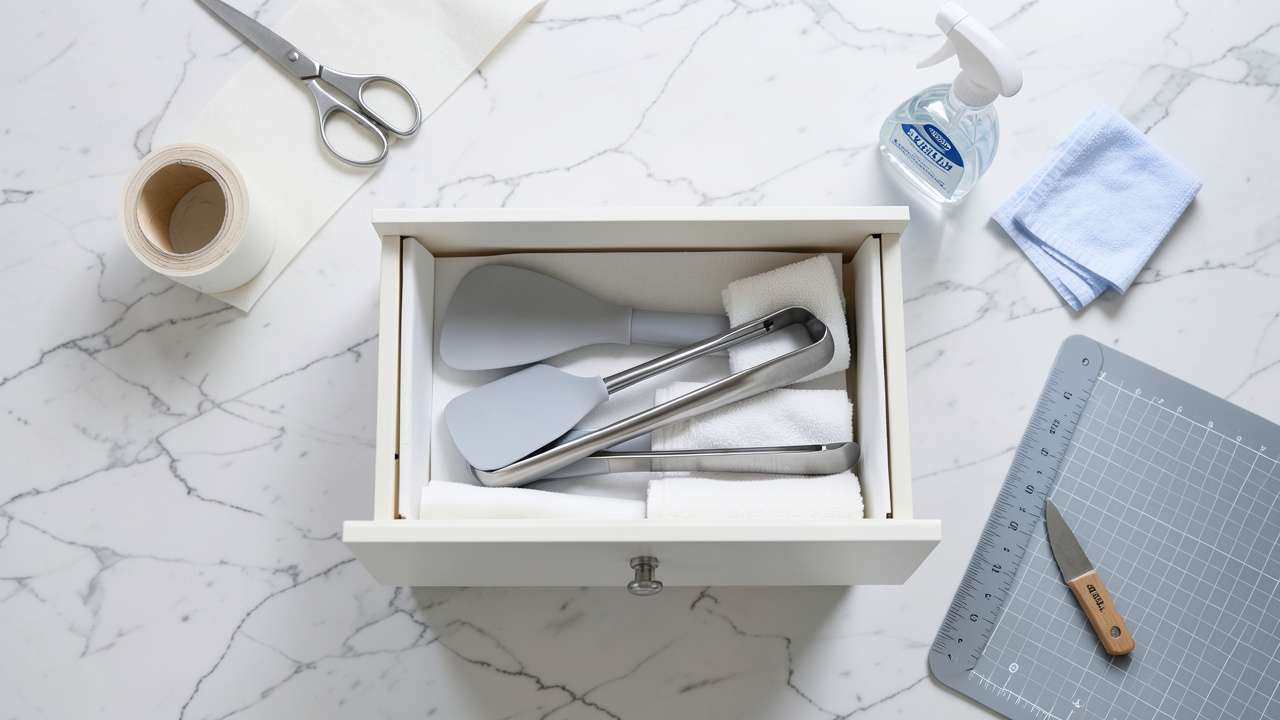
Gather these items:
- Measuring tape or ruler
- Scissors or utility knife
- Clean cloth and mild cleaner for drawer surfaces
- Your chosen drawer liner material
- Optional: adhesive spray or double-sided tape (only if your liner needs it)
Measure each drawer’s length and width. Write these numbers down. Add 1-2 inches to each side for a small overlap. This allows you to trim the liner for a perfect fit.
Step 1 – Clean the Drawer Thoroughly
Remove all items from the drawer. Vacuum or wipe out dust and crumbs. Use a disinfectant spray or a solution of warm water and vinegar. Let the drawer dry completely. Any leftover moisture will get trapped under the liner and cause mold.
Step 2 – Cut the Liner to Size
Roll out the liner on a flat surface. Place the drawer upside down on top (or use your measurements). Mark the size with a pen or marker. Cut along the lines with scissors. For silicone liners, use sharp scissors to get clean edges.
Step 3 – Test the Fit
Place the cut liner inside the drawer. It should sit flat without bubbling. If it bunches up, trim small amounts from the edges. For non-adhesive liners, you want a snug fit that doesn’t slide around.
Step 4 – Secure the Liner (If Needed)
Most silicone and vinyl liners grip the drawer surface without adhesive. If you want extra hold, apply a few dots of double-sided tape on the underside corners. Avoid covering the entire back with adhesive. This makes removal easier later.
Step 5 – Return Items to Drawer
Place your items back inside. Organize them in a way that leaves space for airflow. Overcrowding reduces the liner’s ability to keep moisture away.
Warning: Never use abrasive scrubbers on silicone or vinyl liners. They create micro-scratches where bacteria can hide. Stick to soft sponges and mild soap.
Costs and Timeline for Drawer Liners
| Liner Type | Average Cost per Roll or Pack | Installation Time (per drawer) | Replacement Frequency |
|---|---|---|---|
| Silicone | $10 – $25 | 5-10 minutes | Every 1-2 years (wash monthly) |
| Antimicrobial vinyl | $8 – $18 | 5-8 minutes | Every 6-12 months (wipe weekly) |
| Fabric / felt (washable) | $6 – $15 | 3-5 minutes | Every 3-4 months (wash monthly) |
| Paper / contact paper | $4 – $10 | 5-7 minutes | Every 2-3 months (replace when soiled) |
Common Myths About Drawer Liners and Hygiene
Some beliefs about drawer liners are not accurate. Here are three common myths and the facts behind them.
Myth 1: All drawer liners are the same for hygiene.
Fact: Different materials have different levels of hygiene. Porous fabrics harbor bacteria more than non-porous silicone. According to the, non-porous surfaces reduce bacterial growth by over 90% compared to porous surfaces. Choose liners that are easy to sanitize.
Myth 2: You don’t need to clean drawer liners.
Fact: Even antimicrobial liners accumulate dust and spills. The recommends cleaning kitchen surfaces weekly to prevent foodborne illness. Wipe vinyl liners with a disinfectant spray. Wash fabric liners in hot water.
Myth 3: Adhesive liners are better for hygiene because they don’t move.
Fact: Adhesive liners can trap moisture underneath, leading to mold growth. Non-adhesive liners allow airflow and are easier to remove for thorough cleaning. A study by found that non-adhesive liners last longer and keep drawers drier.
Pro Tips for Maximum Hygiene and Comfort with Drawer Liners
- Wash new liners before first use. Even new liners can have dust or residues from manufacturing. Rinse silicone liners with warm soapy water. Machine wash fabric liners on gentle.
- Air out drawers weekly. Open drawers for 5-10 minutes to let moisture escape. This step is critical in bathrooms and kitchens where humidity is high.
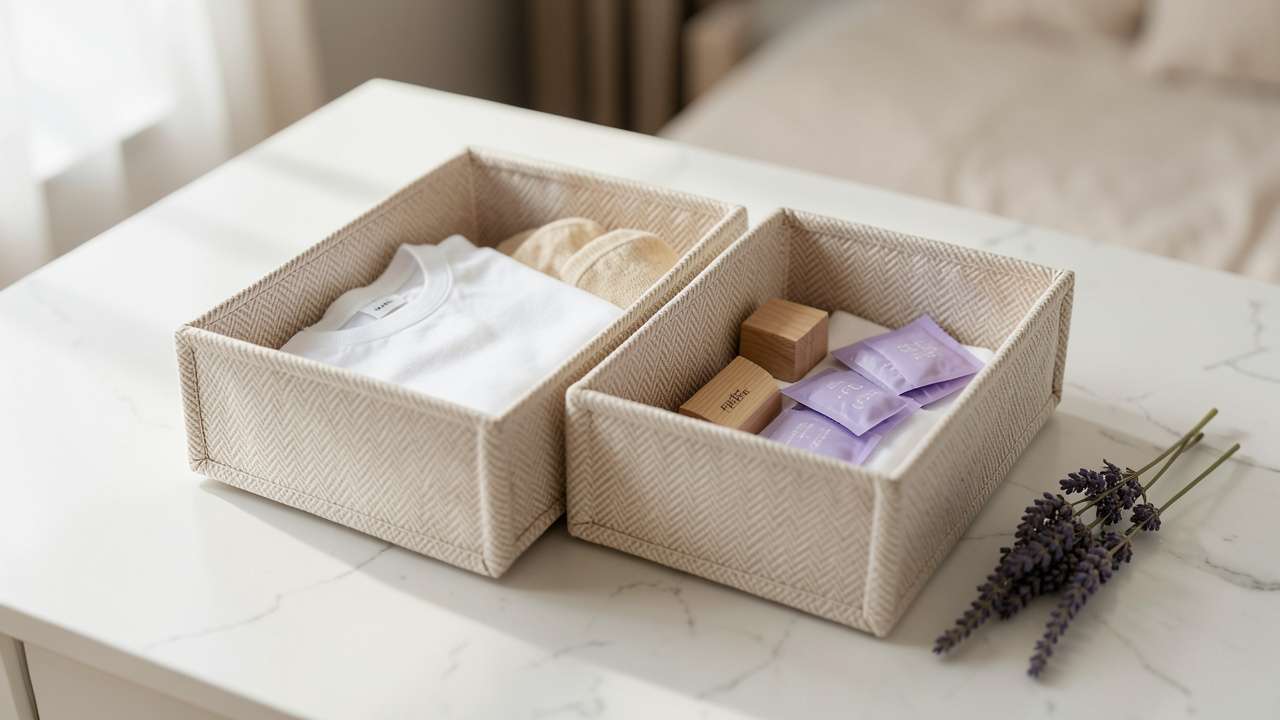
- Use drawer dividers with liners. Dividers keep items separated and allow air to circulate under the liner. This reduces the chance of moisture getting trapped.
- Replace liners seasonally. Even durable liners wear down. Replace silicone every 2 years. Replace fabric every 3-4 months if you wash it regularly.
- Avoid using bleach on liners. Bleach breaks down silicone and vinyl over time. Use hydrogen peroxide or a vinegar solution instead.
Tip: For an extra layer of protection, place a silica gel packet inside each drawer. It absorbs excess moisture and keeps the liner dry. Replace the packet every 1-2 months.
Resources and Tools for Hygienic Drawer Liners
Here are some trusted brands and products that meet good hygiene standards.
- Duck Brand Shelf Liner (Antimicrobial) – Vinyl liner with built-in antimicrobial protection.
- Gorilla Grip Original Drawer Liner – Non-slip, washable vinyl mat.
- EasyLiner Advanced Series – Antimicrobial, non-adhesive liner for kitchen and bathroom.
- Con-Tact Brand Non-Adhesive Drawer Liner – Budget-friendly, washable vinyl.
- Silicone Drawer Mats (various brands) – Pure silicone, non-porous, dishwasher-safe. Search online retailers for best options.
For DIY alternatives, consider using cork sheets (natural and antimicrobial) or bamboo mats. Both are sustainable and resist moisture well. However, they require more frequent sealing than silicone.
Frequently Asked Questions
Are silicone drawer liners better for hygiene than fabric ones?
Yes. Silicone is non-porous and does not absorb moisture or bacteria. Fabric liners can trap dirt and require more frequent washing. According to the NSF, non-porous surfaces are 90% more effective at reducing bacterial transfer.
How often should I clean my drawer liners?
It depends on the material. Wipe silicone and vinyl liners weekly with a disinfectant. Wash fabric liners every 2-4 weeks in hot water. Replace paper liners every 2 months.
Can drawer liners cause mold?
Yes, if moisture gets trapped underneath. To prevent mold, use non-adhesive liners that allow airflow. Ensure drawers are completely dry before installing the liner. Check under the liner every 2-3 months.
Do antimicrobial drawer liners really work?
Yes. Antimicrobial additives inhibit the growth of bacteria, mold, and mildew on the liner surface. However, they do not kill germs in the air or on items placed on top. You still need to clean the liner regularly.
What is the best drawer liner for a bathroom?
Silicone or antimicrobial vinyl. Both resist moisture and can be wiped clean easily. Avoid paper or unsealed fabric in bathrooms because they will absorb humidity and grow mold.
Final Thoughts
Drawer liners for hygiene are a simple investment that protects your health and extends the life of your furniture. Choose non-porous materials like silicone or antimicrobial vinyl for the best results. Clean your liners regularly and replace them when they show signs of wear. With the right liner, your drawers stay fresh, dry, and comfortable.